

Changed the application font using Google fonts
Changing the application font in a Nextjs application is pretty straight forward as compared to other frameworks. Nextjs comes with a Google fonts package. All I had to do was import the Google font I chose and added the font to the body tag of the main layout file of the application. The code below shows how this done
  import { MyFont } from 'next/font/google'
  const MyFont = MyFont({subsets:['latin']})

  export default function RootLayout({
    children,
  }: {
    children: React.ReactNode
  }) {
    return (
      <html lang="en">
        <body className={MyFont.className}>{children}</body>
      </html>
    )
  }
Added image previews and image placeholders
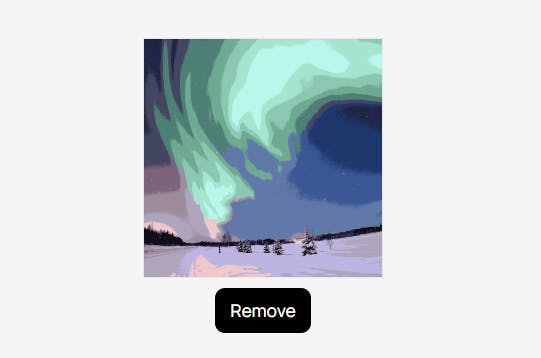
I added a simple image preview for when users try to upload images. This will help the user see the actual image before they decide to upload it. I also added image placeholders that display a default image for the user instead of blank area when no image has been uploaded. The image below is of the image preview and image placeholder.
Created an app logo
I created a very simple app logo, created entirely in Canva. The image below is of the Whinst logo.

Added a currency picker
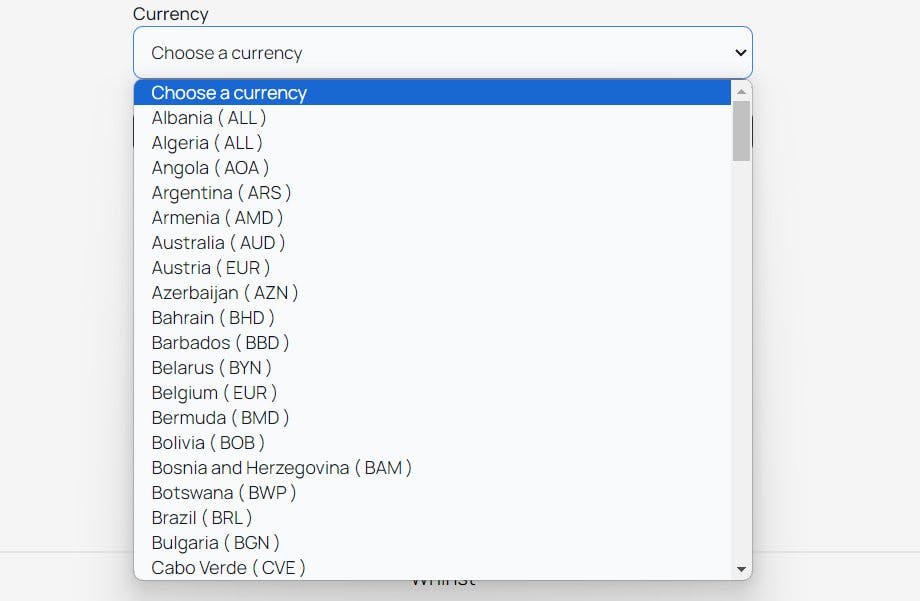
I added functionality that allows users to select a world currency of their choice and save it to the database. To do this I first had to get all world currencies and store them in a list. I then used the built in select and options tag to create a currency picker. Using a map function the world currency list is looped to give users a list of selectable currencies. The image below is of the currency picker.
Added functionality that allows users to sign-in with their Google accounts
To do this I used NextAuth's built in social login functionality. Without going into too much detail, NextAuth allows you to easily use several different providers for logging in. In this case I used only Google. Most of this functionality is performed in the background by NextAuth. The biggest challenge I faced was adding functionality that also created a user in the database given the information provided by Google after a user is authenticated. Basically what happens is when a user uses their Google account to sign-in, the application checks whether the given user credentials are registered in the database. If they are, the user object from the database is returned. If they aren't, a new user is created and is returned. The gif below is of how it works.